Red Poppies Campaigns
19 August 2026 · Rob
Last Sunday Menno and me took a day to explore the intricacies of this game. We had time to play three scenario’s and get a real good feel for the system.
The Red Poppies Campaigns series consist of three volumes – 1 being the Battles (across three years – 1914, 1915 and 1917) for Ypres, volume 2 is Last Laurels at Limanowa and deals with the Austro-Hungarian struggle against Russia, and the final volume called Assault Artillery deals with French tanks and the Battle for Malmaison.
Scale is down to individual companies, sections & batteries, a hex is 200 metres and a turn roughly 10 minutes. There are rather simple scenarios but increasing in scale all the way to ‘campaign’ games lasting several days of in-game time, and most likely a full day real time at least.
The rules are the same across all volumes (though with some specifics added in later volumes) and are some 20 pages. They are quite clear when reading them but when playing Menno and me found a few little issues that were not clear and judging by the identical questions we found on BGG, we were not the only ones. Still, it is a fun game that does show the intricacies of warfare during the Great War. For instance, artillery plays a huge role and accounts for 4 pages of the booklet. Gunfire is exceedingly deadly especially when the machineguns are concerned. Dealing with gas attacks, trenches and barbed wire: all what you expect is there.
Also getting your troops to do what you want in the beginning of the war works differently in the later years, when the belligerents were adapting their outdated tactics from the American Civil War or even Napoleonic wars and moving away from massed and specifically formed infantry units to a more skirmish-like attitude. You, as a player, have to learn this for yourself – or you will pay a price in cardboard – but the losses in alle three scenario’s we played were huge and that gives one pause, considering the horrendous toll in human life this conflict charged.
What is a tad different – even though it is a typical hex-n-counter wargame – is the core of the system: cohesion checks. There is no CRT, no step losses, everything deals with these cohesion checks. Getting shot at? Cohesion check. Moving at night? Cohesion check. So, the player on the receiving end of something nasty rolls 2D6 every time to see is the involved unit(s) remain on the battlefield as an force with impact, or maybe they just get a little dispersed and unable to continue their activation. Speaking of which: there is hardly any downtime as players react to every single action of their opposing numbers, not unlike the ‘Conflict of heroes’ series also has you reacting after every step or shot.
Enough already – what happened really!
We started with scenario 1 from volume 1 – Eating fire at Gheluvelt (October 1914) with Menno commanding the 2nd Worcesters and the XLI artillery brigade to try and dislodge my two reserve regiments and 105th Saxon regiment from the chateau we just won before this scenario.
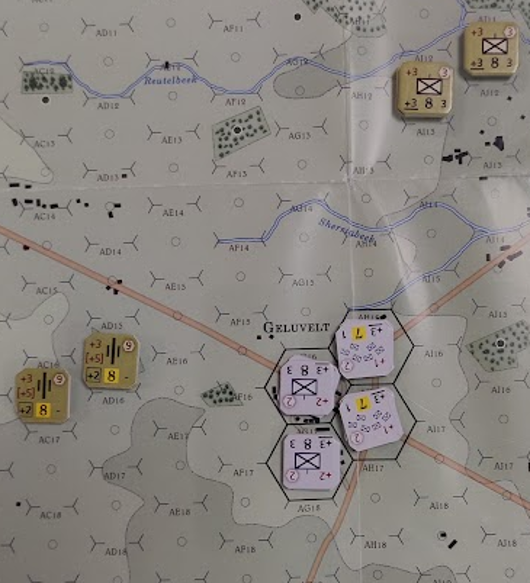
*** Starting positions for the battle of Gheluvelt ***
Even though this is an introductory scenario with 14 counters and a small part of the map, it was quite interesting. My troops could only win if they were to destroy at least one artillery battery while keeping control of the chateau, while Menno’s forces had to avoid losing the artillery while taking at least part of the chateau. I managed with perseverance to take out one battery but at a tremendous cost, while keeping control of the chateau – a hard won victory.
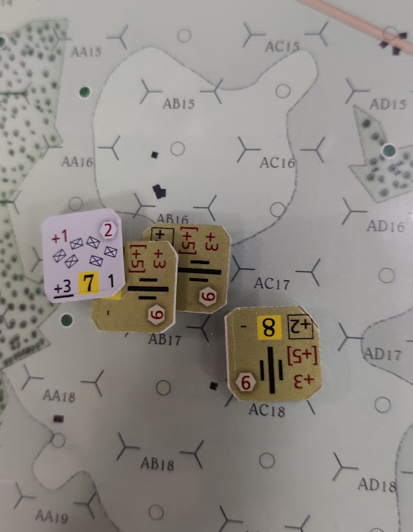
*** Remnants of the 105th Saxons assaulting the British artillery positions ***
So, they we reversed roles to see if we could do better. In the end, it was a similar result as before, but the way how we got there was a little different.
After having a better lunch that the one our troops did get (no bully-beef, schrapnellsuppe or maconochie for us), we went on to play scenario 3 from volume 3 called ‘14th corps’, wanting to see WW1 era tanks in action. Here we saw Menno’s elements of the French 28th Division de infanterie supported by St. Chamond tanks from Artillerie Spéciale Group 33 trying to break through a defensive trench line of my Gruppe Crèpy who were hoping to avoid the loss of the village of Allemant.
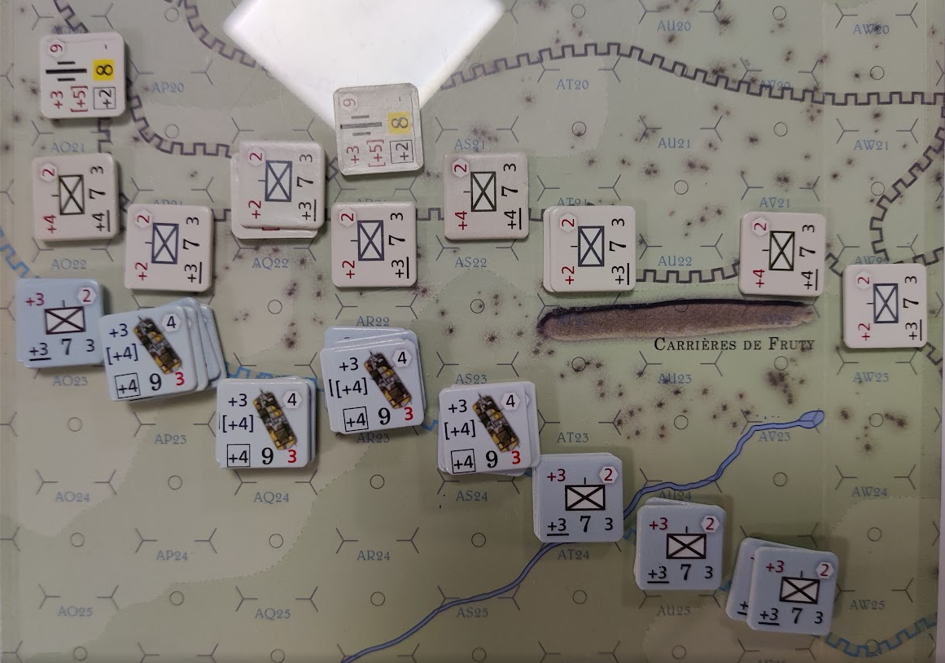
*** French ready to take on the German defenders at Allemant (further to the north) ***
(Sorry for the silly white square in the photo - that's the overhead light fixture)
Here we saw the brutal strength of artillery as the preliminary bombardment took out half my artillery and all my machinegun sections, basically denying me the use of the most powerful defenders and as such, the St. Chamonds managed to break through in force even though they did stall a little when bogged down in the crater infested fields west of Allemant – and in the end I lost by a landslide.
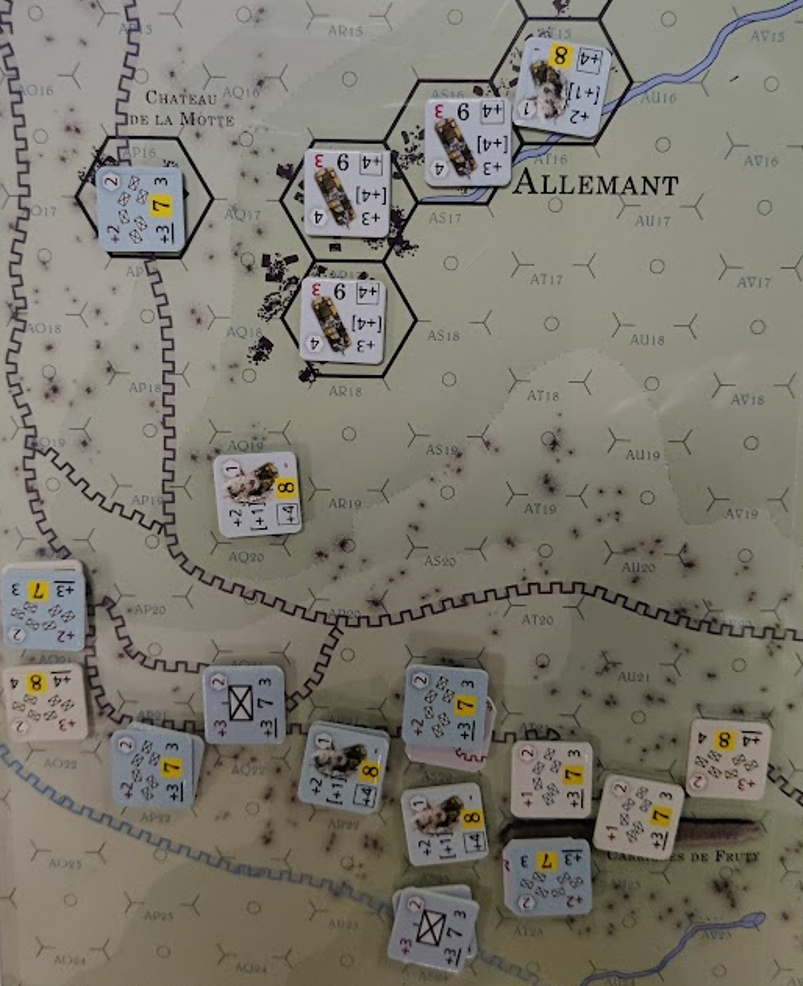
*** Having overrun my positions, Menno's troops roll into Allemant ***
I can say we enjoyed the game system even though we later found a few mistakes were made in applying parts of the rules (none which would have made huge impact on the results mind you) and so, we are aiming to get this back at the table in the near future.
Comments



Log in to reply.